For many online creators, social media is an essential part of their overall business infrastructure. You can use tools like Pinterest and Instagram to connect with your fans, network with potential clients, and build awareness for your art.
Unfortunately, managing social media accounts can become exhausting and time-consuming in equal measure. Fortunately, tools to simplify the process exist—and one of those is Buffer.
Today, you’ll learn how to manage your social media accounts as an online creator within Buffer. You will find out how to schedule and publish content, along with measuring your analytics and much more.
What Is Buffer?
Buffer primarily focuses on helping small businesses manage their social media accounts. The company’s headquarters are in San Francisco, California, though its team operates remotely.
Buffer has features that allow you to measure analytics and easily connect your social media accounts. You can also schedule and draft posts, along with gaining an overview of them in a calendar. As you start to market other areas of your content creation business, you can also build landing pages. Meanwhile, Buffer’s AI Assistant lets you perform tasks that might otherwise have taken longer—such as editing copy.
You can subscribe to three different pricing plans with Buffer: Essentials, Team, and Agency. These range between $6 and $120 per channel per month. As an individual creator, you’ll probably gain all the value you need from the free plan. Moreover, you can add up to three channels with a free account.
Download: Buffer for iOS | Android (Free, in-app purchases available)
You can integrate Buffer with several social media platforms. These include:
- TikTok
- YouTube (including YouTube Shorts)
- X (Twitter)
- Mastodon
- Google Business
- Shopify
While you can use Buffer to schedule your social media content and gain ideas, it’s up to you to make what you post engaging. Consider checking out these hacks to create interesting content as a social media manager.
Now that we’ve covered the basics of what Buffer is, let’s dive into using the program for managing your social media accounts. You can give yourself a head start by learning social media marketing through online courses.
1. Draft Your Social Media Posts
You might want to avoid drafting your posts directly within social media apps and websites for numerous reasons. Speaking from personal experience, I find it difficult to go onto some networks without wasting time by consuming content mindlessly—even if that was never my intention. So, using tools like Buffer allows me to sift through everything and focus on the sole reason I was using a platform in the first place.
Drafting social media posts in Buffer is quite straightforward:
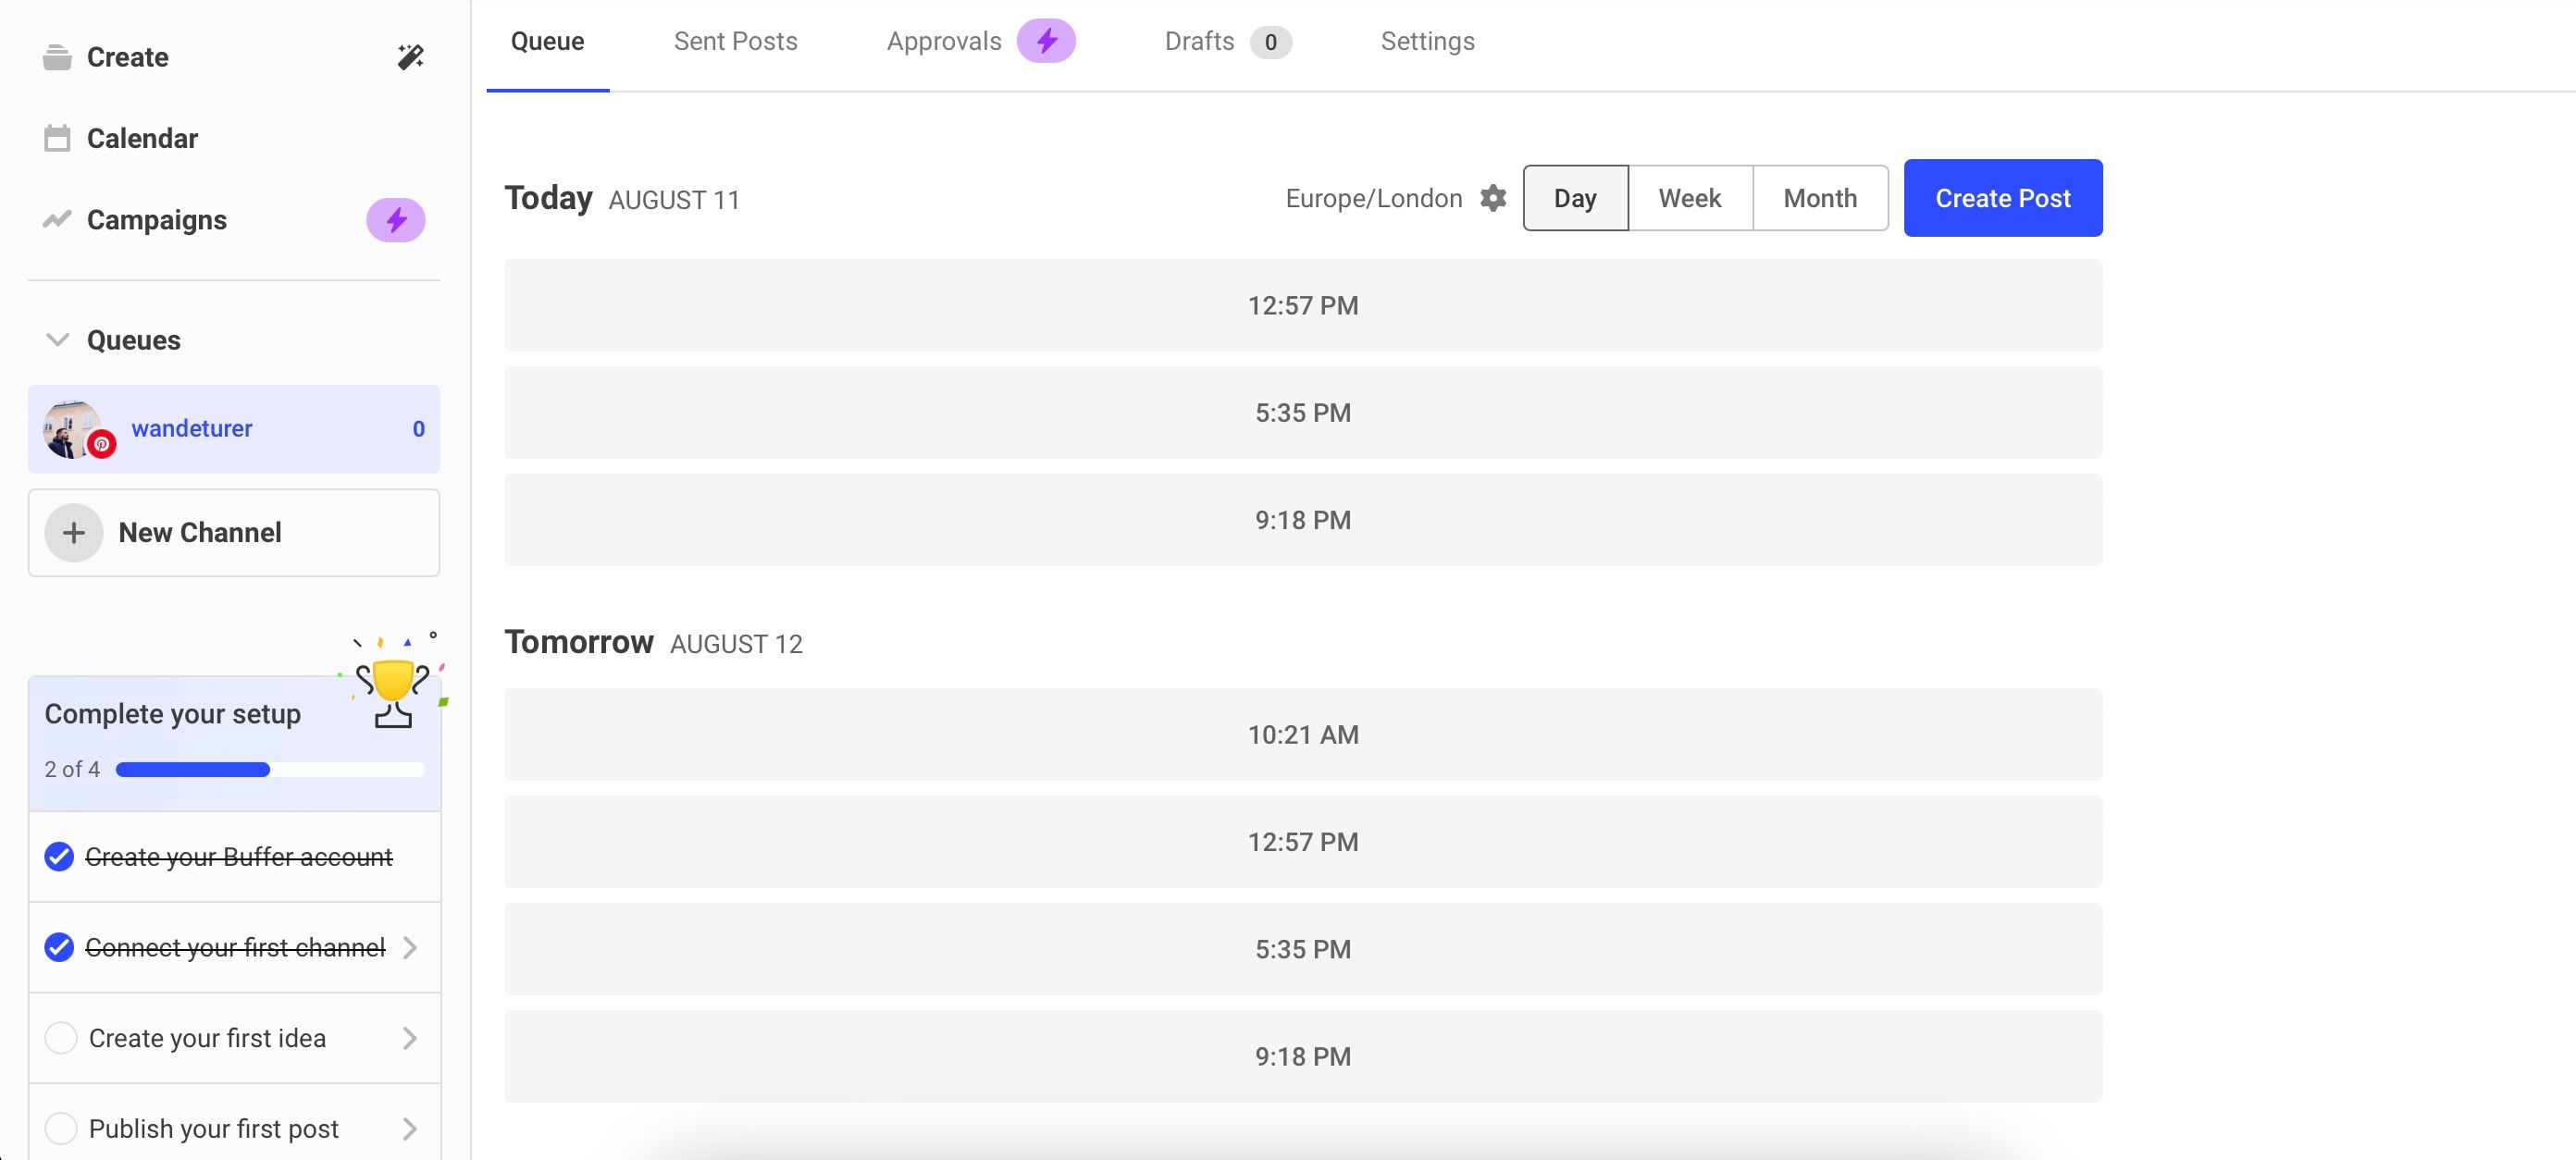
- After connecting your account in Buffer (which you can do when you sign up), go to the Queues tab.
- Select the account you want to draft a social media post for.
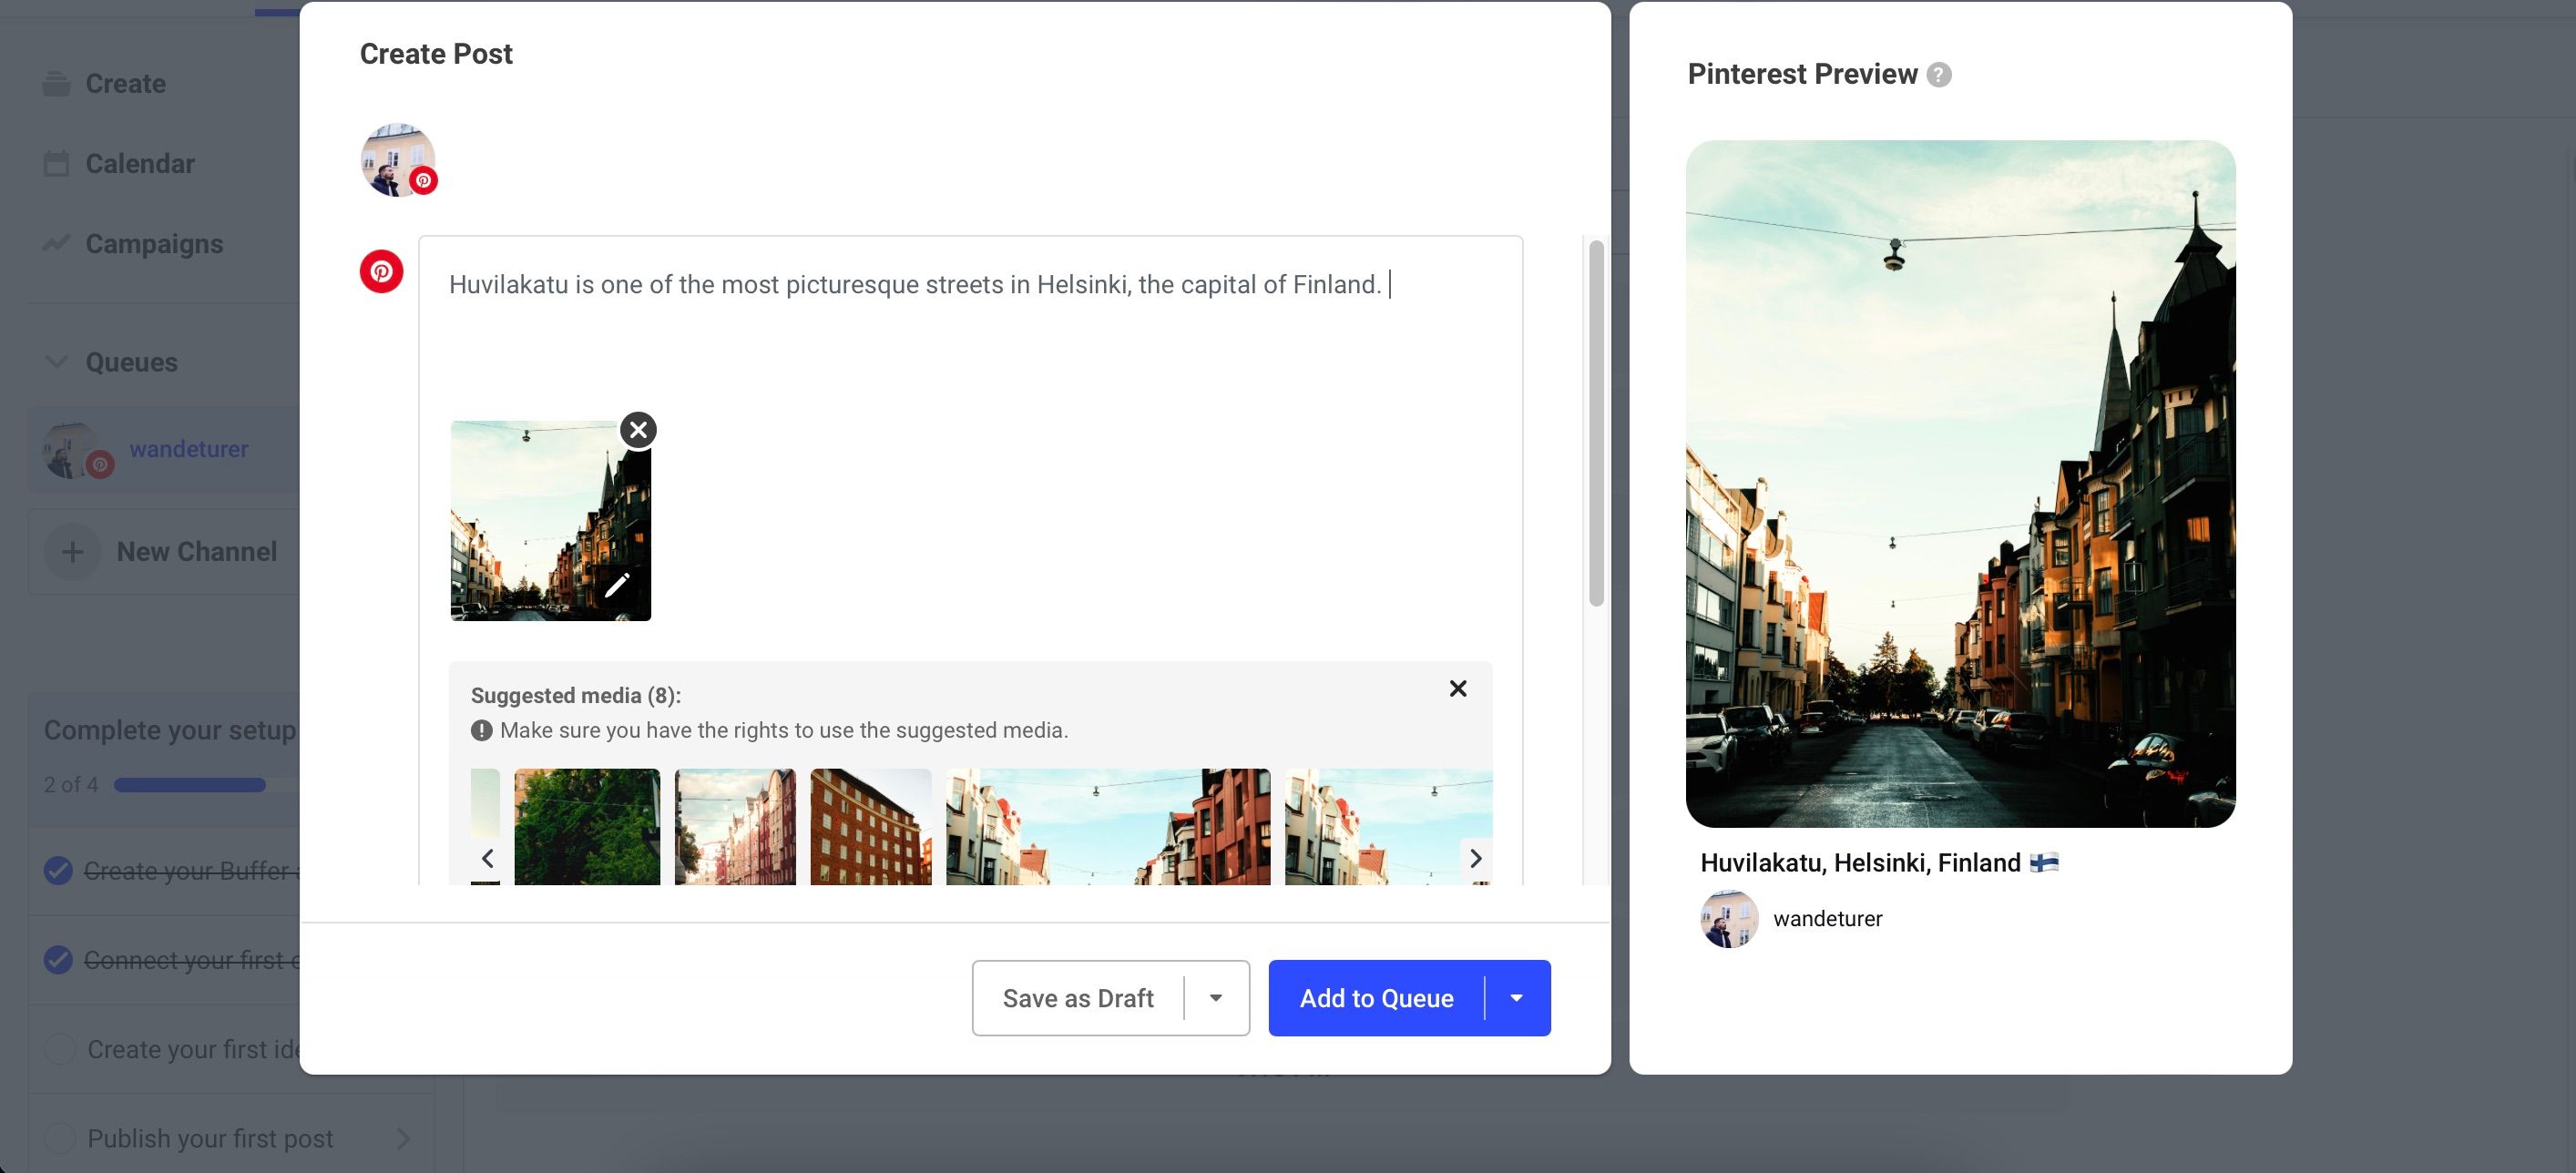
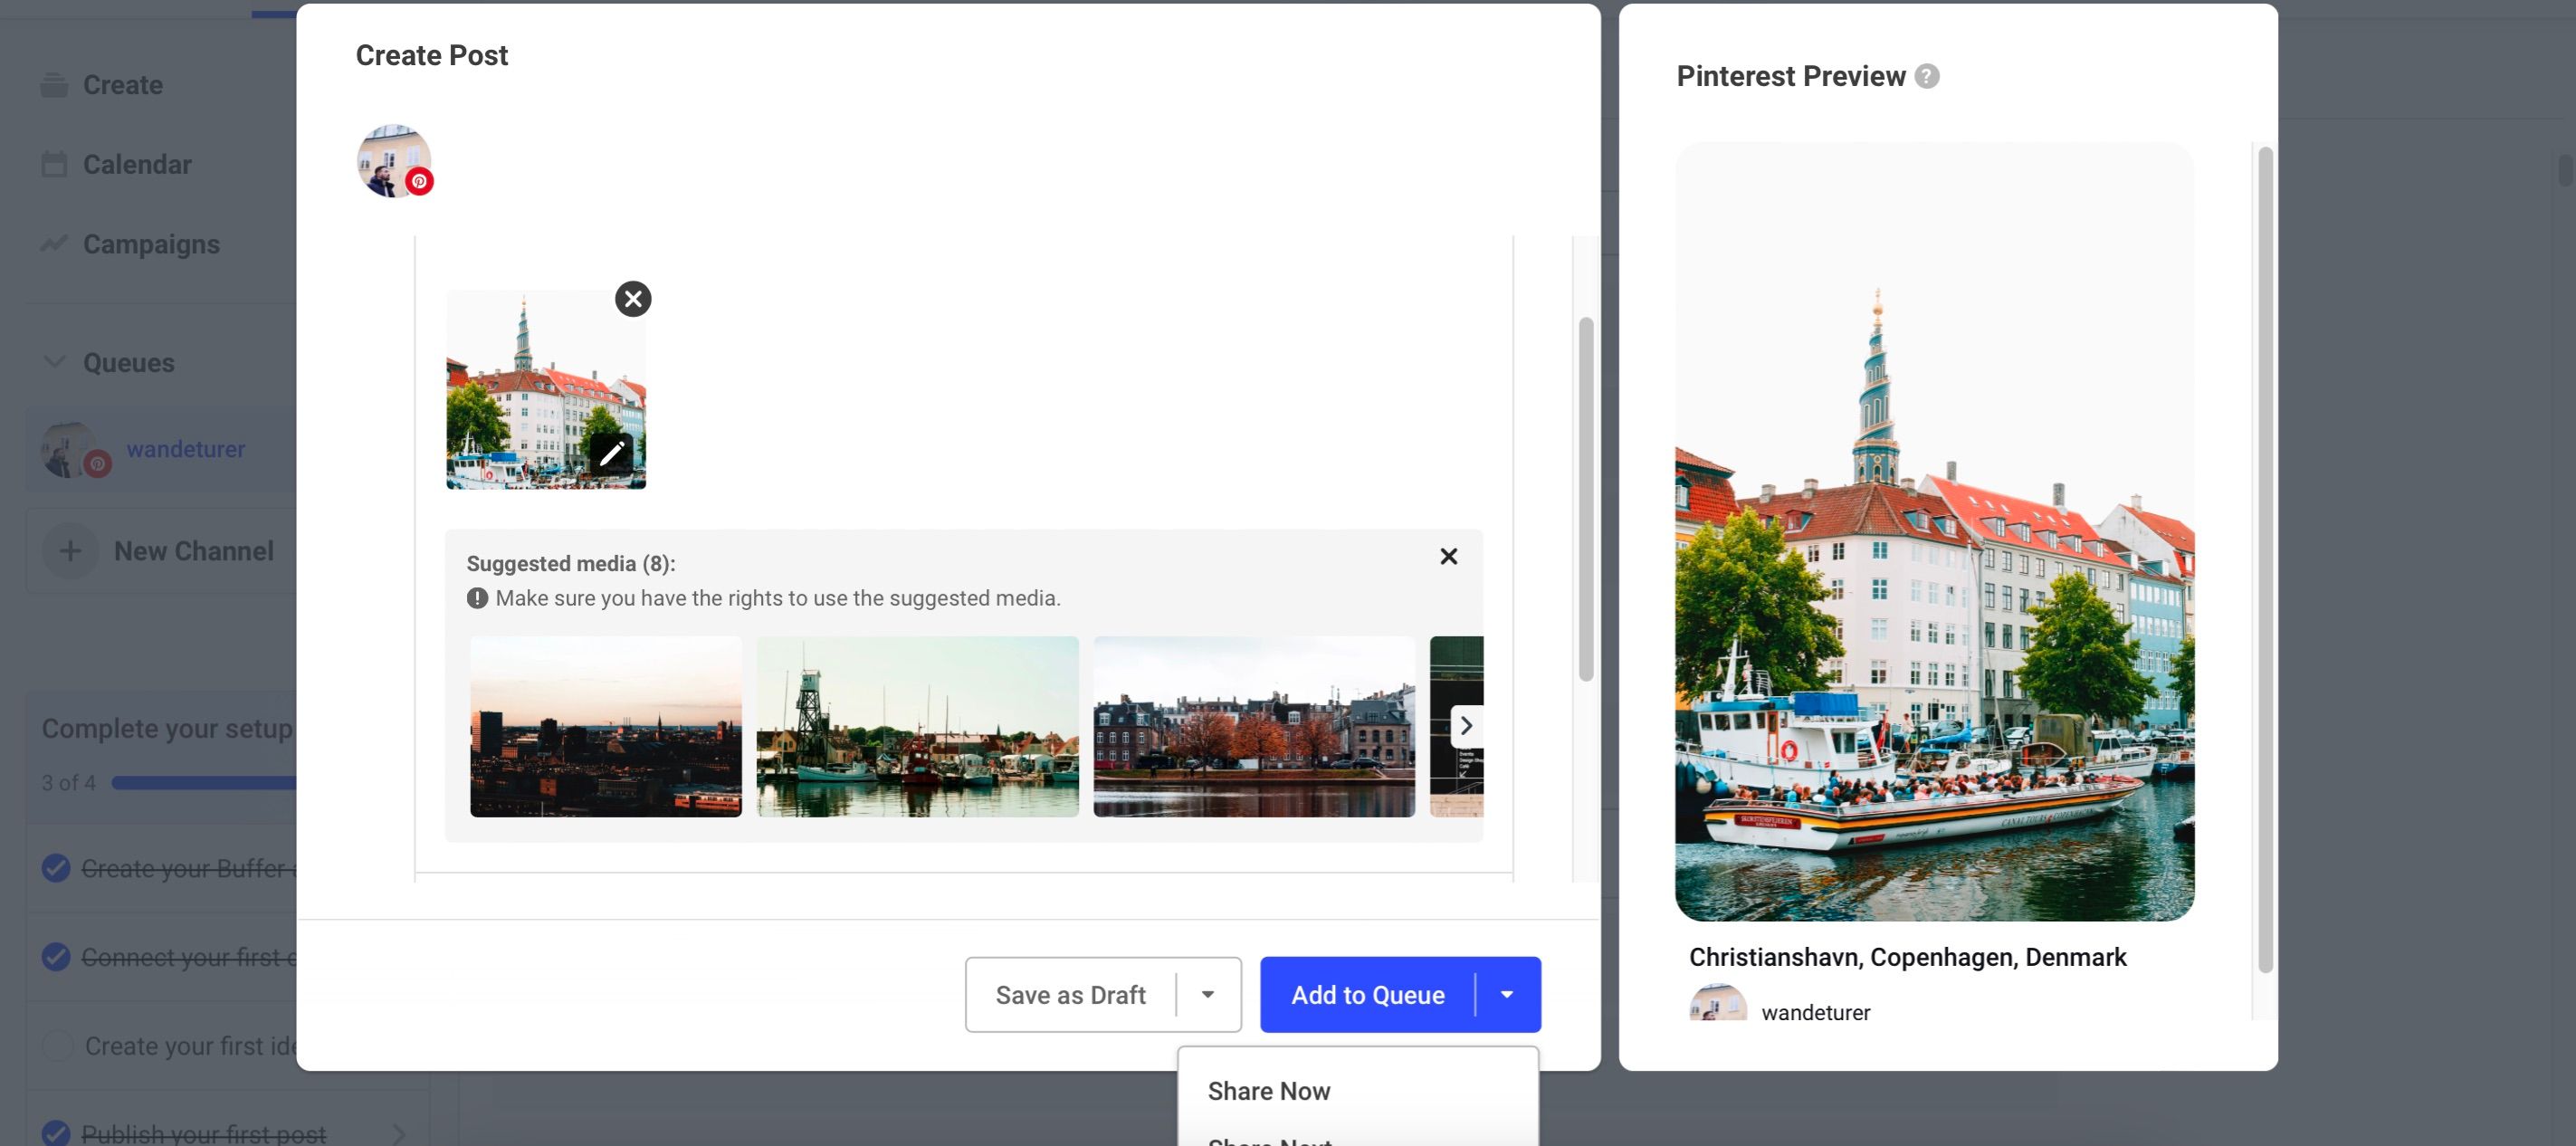
- Click on the blue Create Post button.
- Customize your post however you want. If you want to upload pictures, note that you can only upload file sizes as big as 10MB. And to create posts on Pinterest, you’ll need to choose the board on which your content will feature.
- If you’re not ready to schedule or post, click on the Save as Draft button. Otherwise, follow the steps in the next section to share your post on social media.
If you’re still exploring different tools for managing your social media content, you can check out the many other social media content calendar tools available.
2. Publish Your Content on Social Media
When managing your social media accounts with Buffer, you can decide to either share your posts now or in the future.
First, let’s cover scheduling:
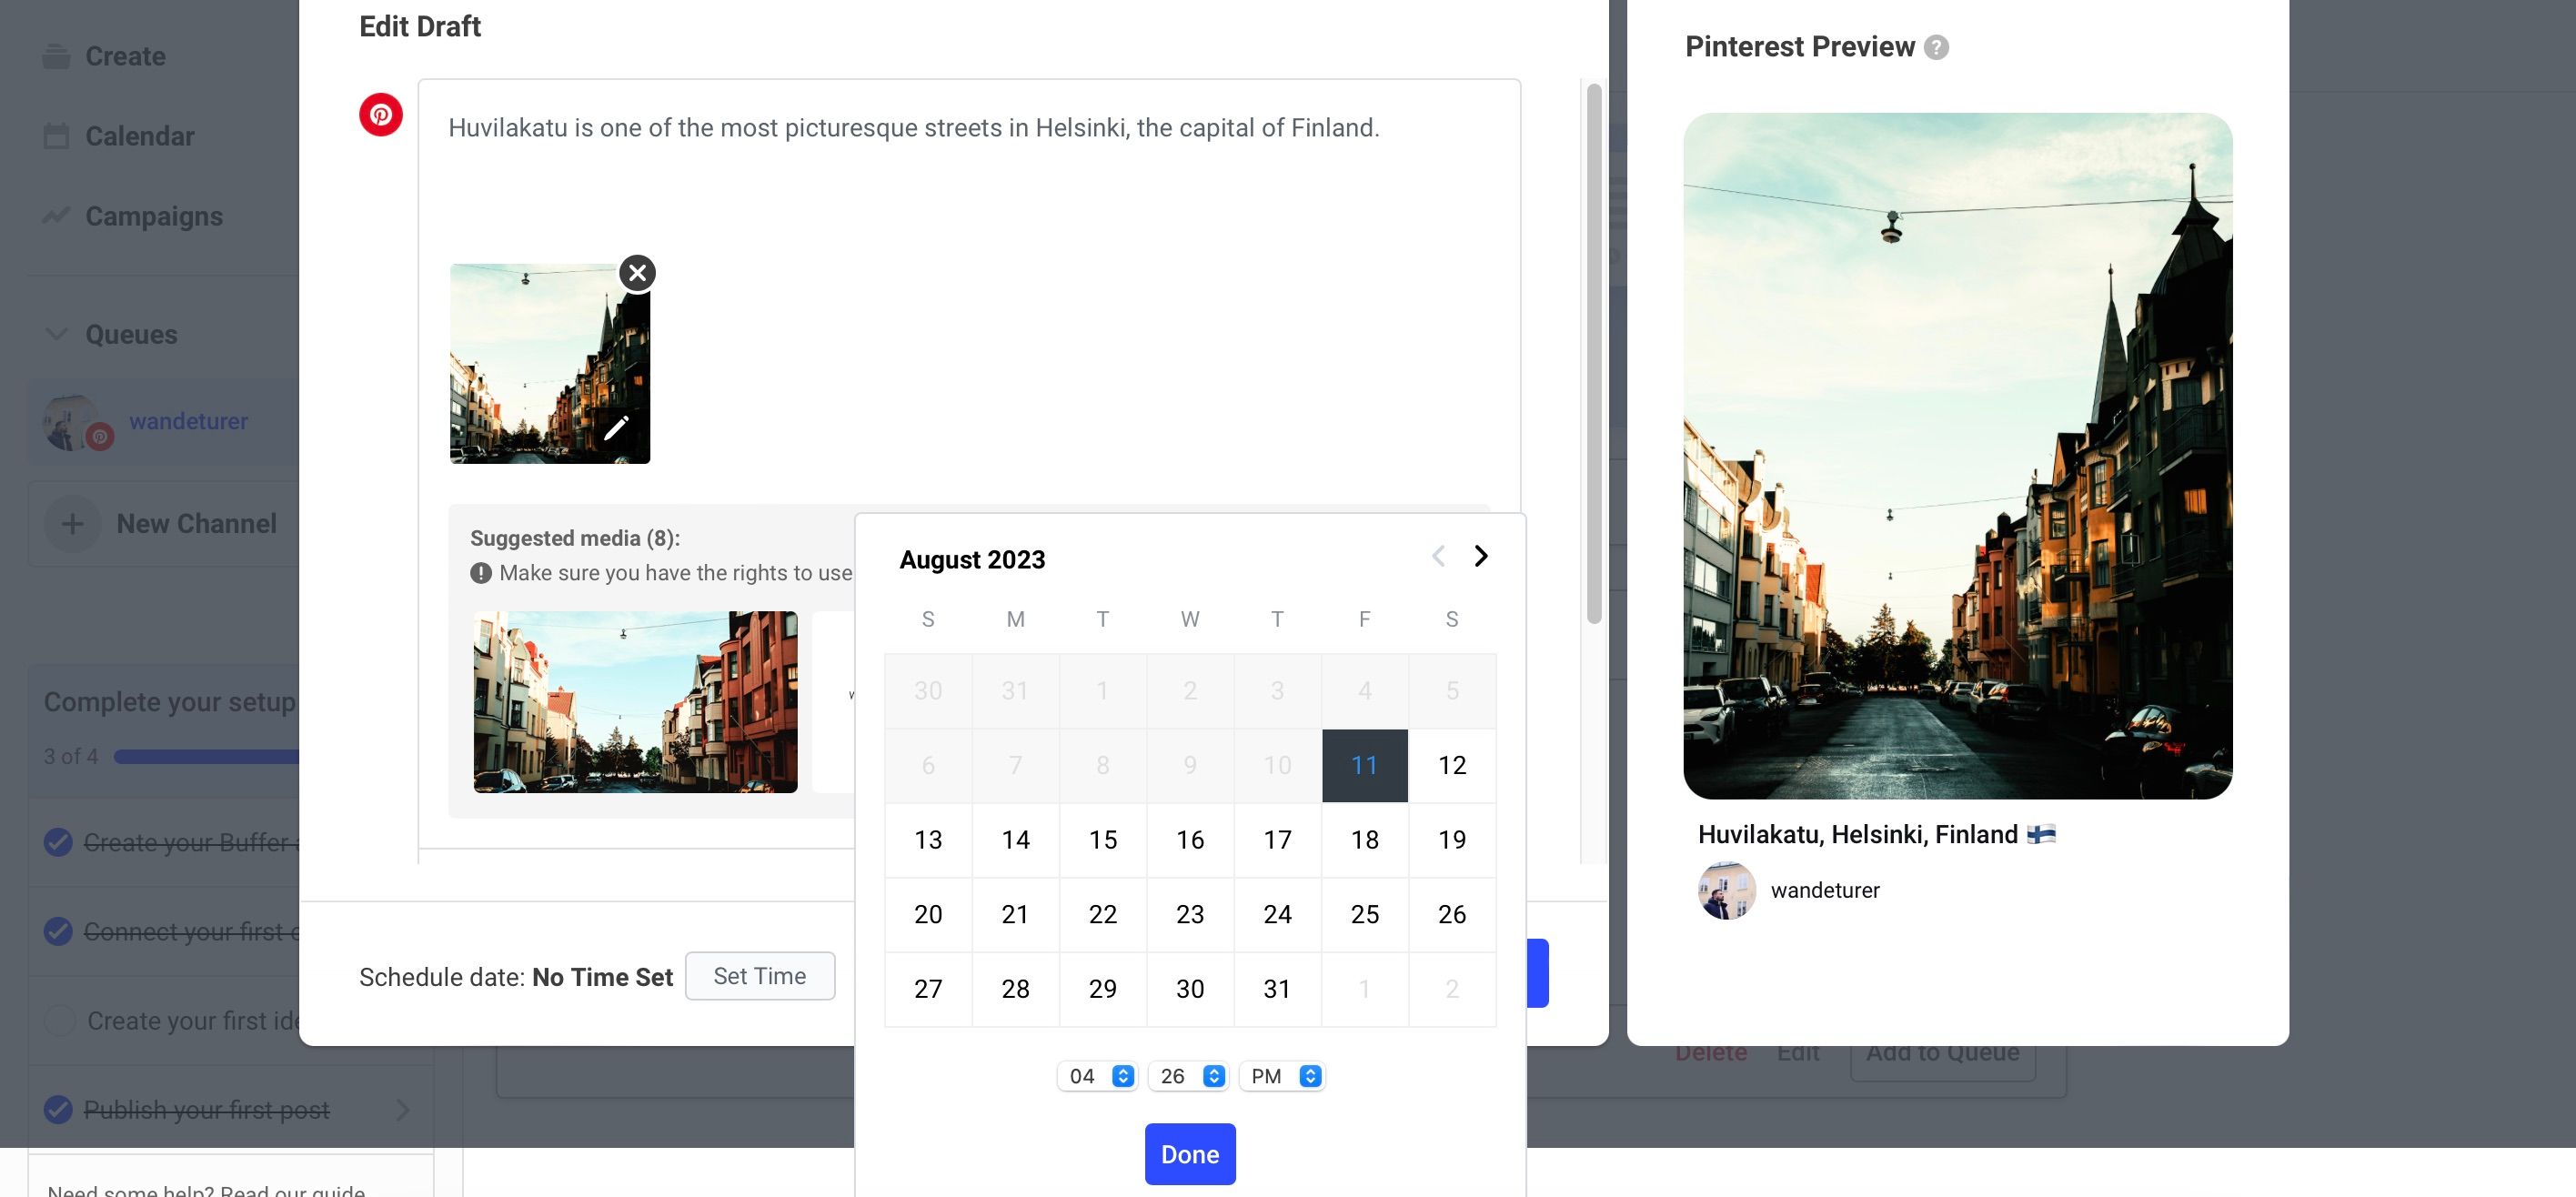
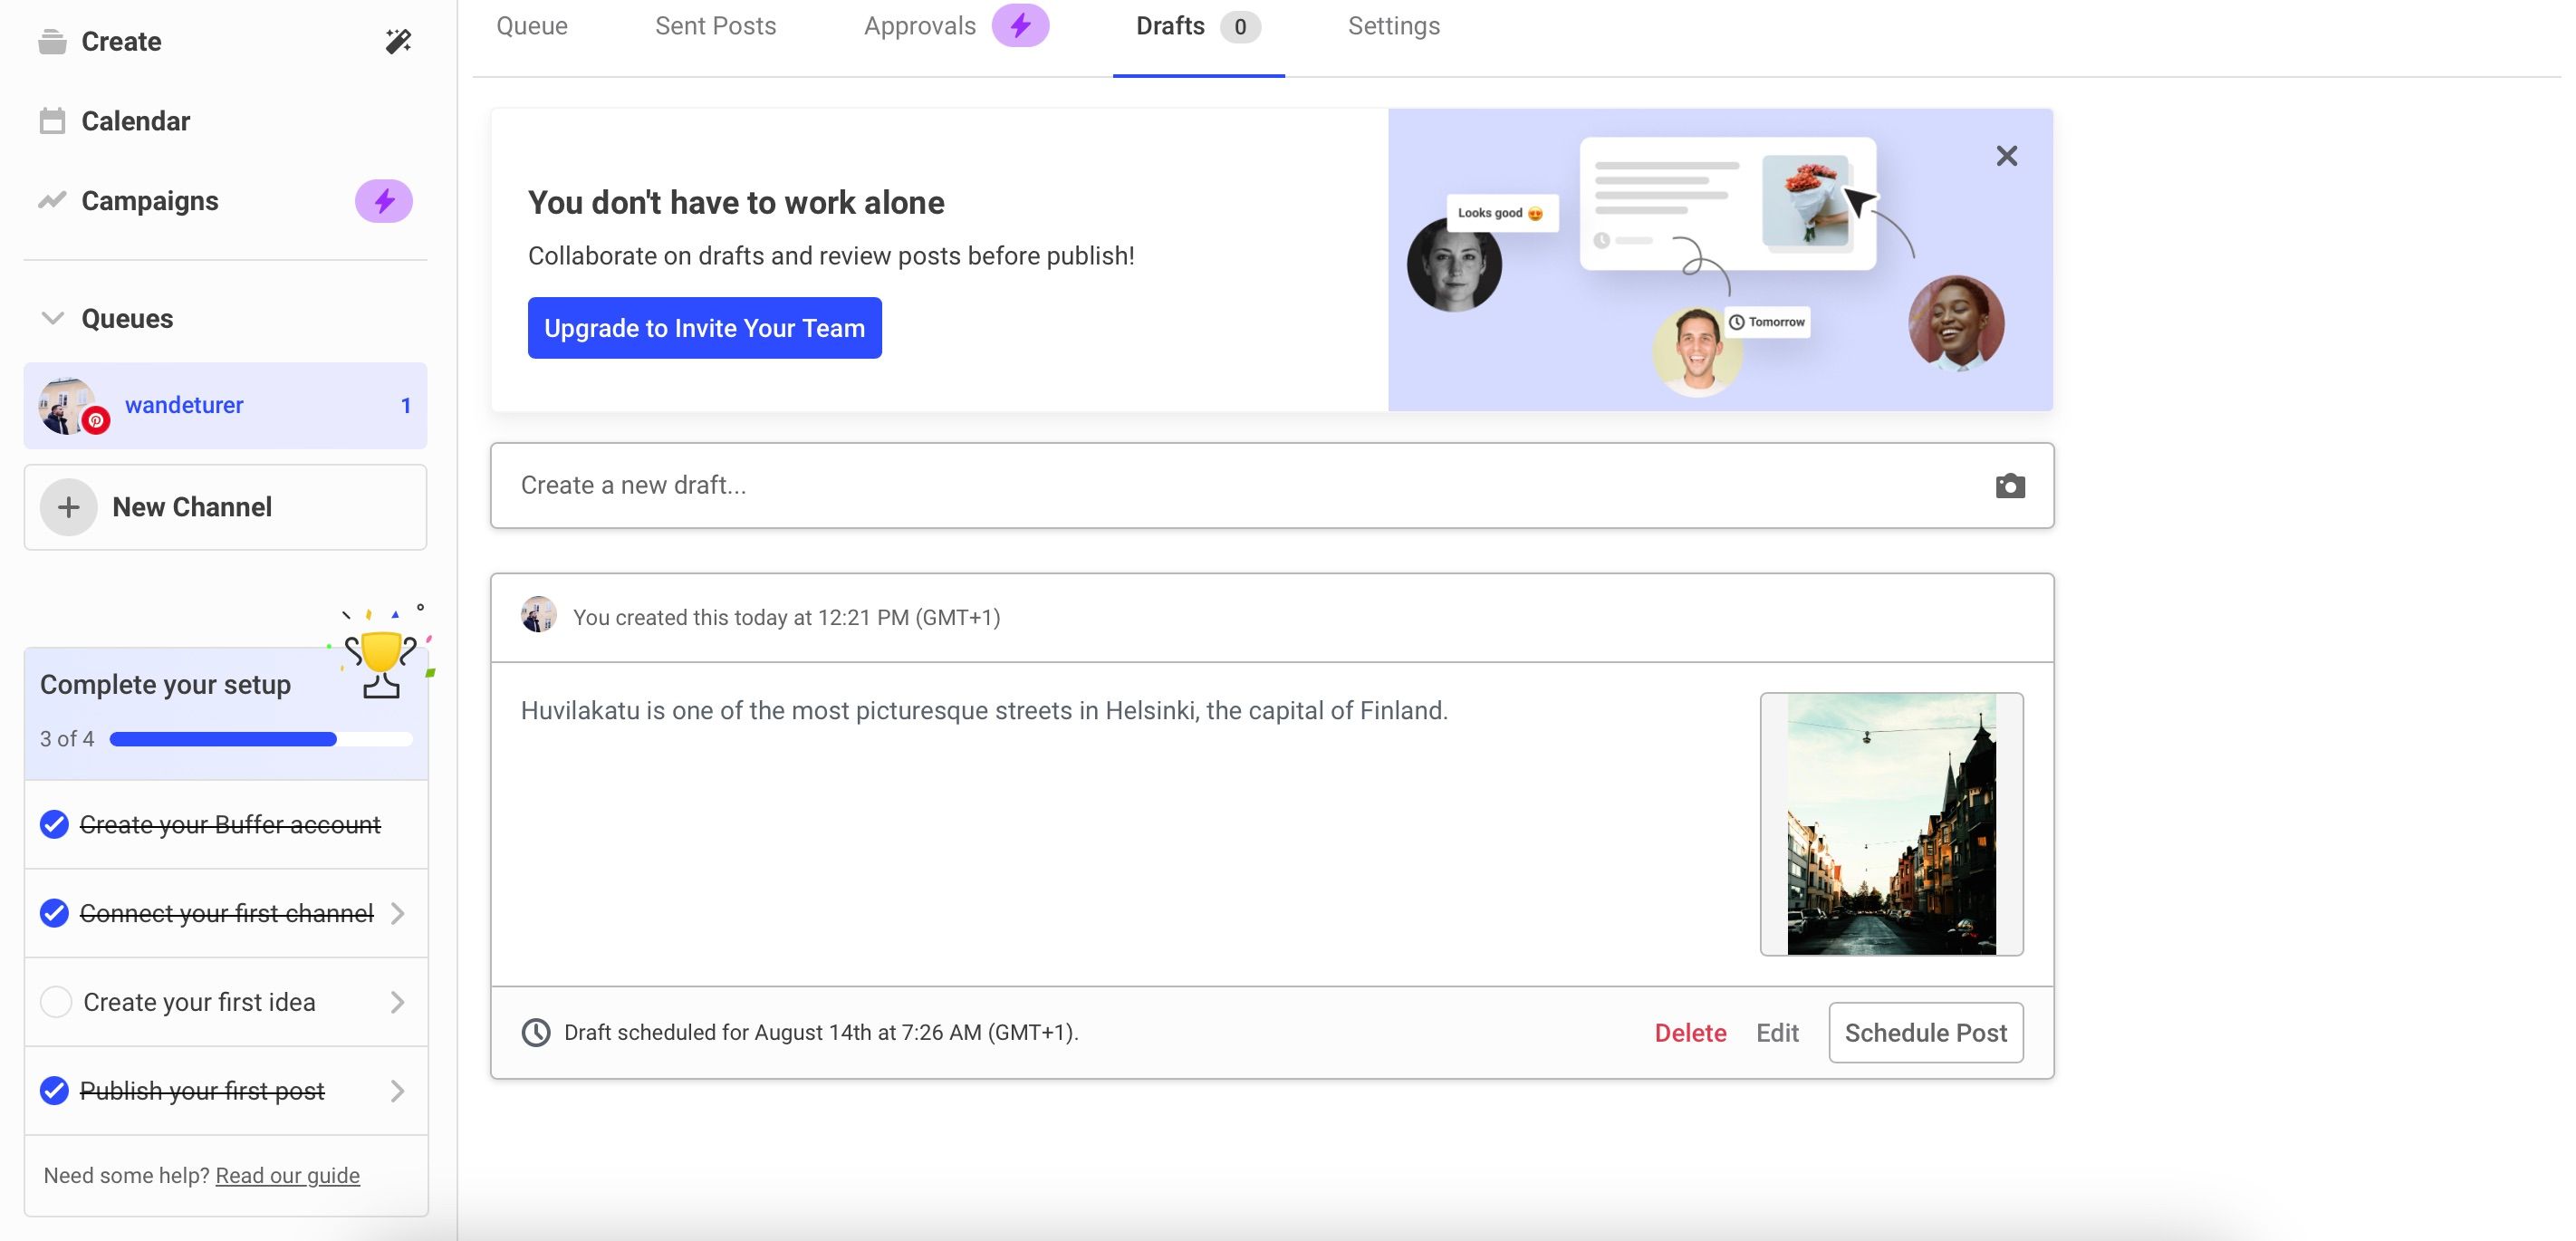
- Select Save as Draft and go to Queues > Drafts.
- Next to Schedule date, tap the Edit button to expand a calendar.
- Choose your preferred time and date. Then, tap Done.
- Click on Schedule Post to complete the process.
To share your post instantly:
- Tap the arrow button next to Add to Queue.
- Select Share Now.
3. Responding to Comments and Messages
With a free Buffer plan, you can easily draft and schedule social media content. But if you want access to more features, you’ll need to upgrade to a paid version. Replying to comments and messages is one of those features that’ll require a paid subscription.
The feature is also only available for Facebook and Instagram. To access comments and messages, click on the Engagement tab. You can use Buffer for both Facebook pages and groups.
4. Measuring Analytics
When managing your social accounts, you’ll also want to check out the analytics if growth on those platforms is your primary objective. Buffer lets you do this, but you’ll again need to sign up for a paid subscription.
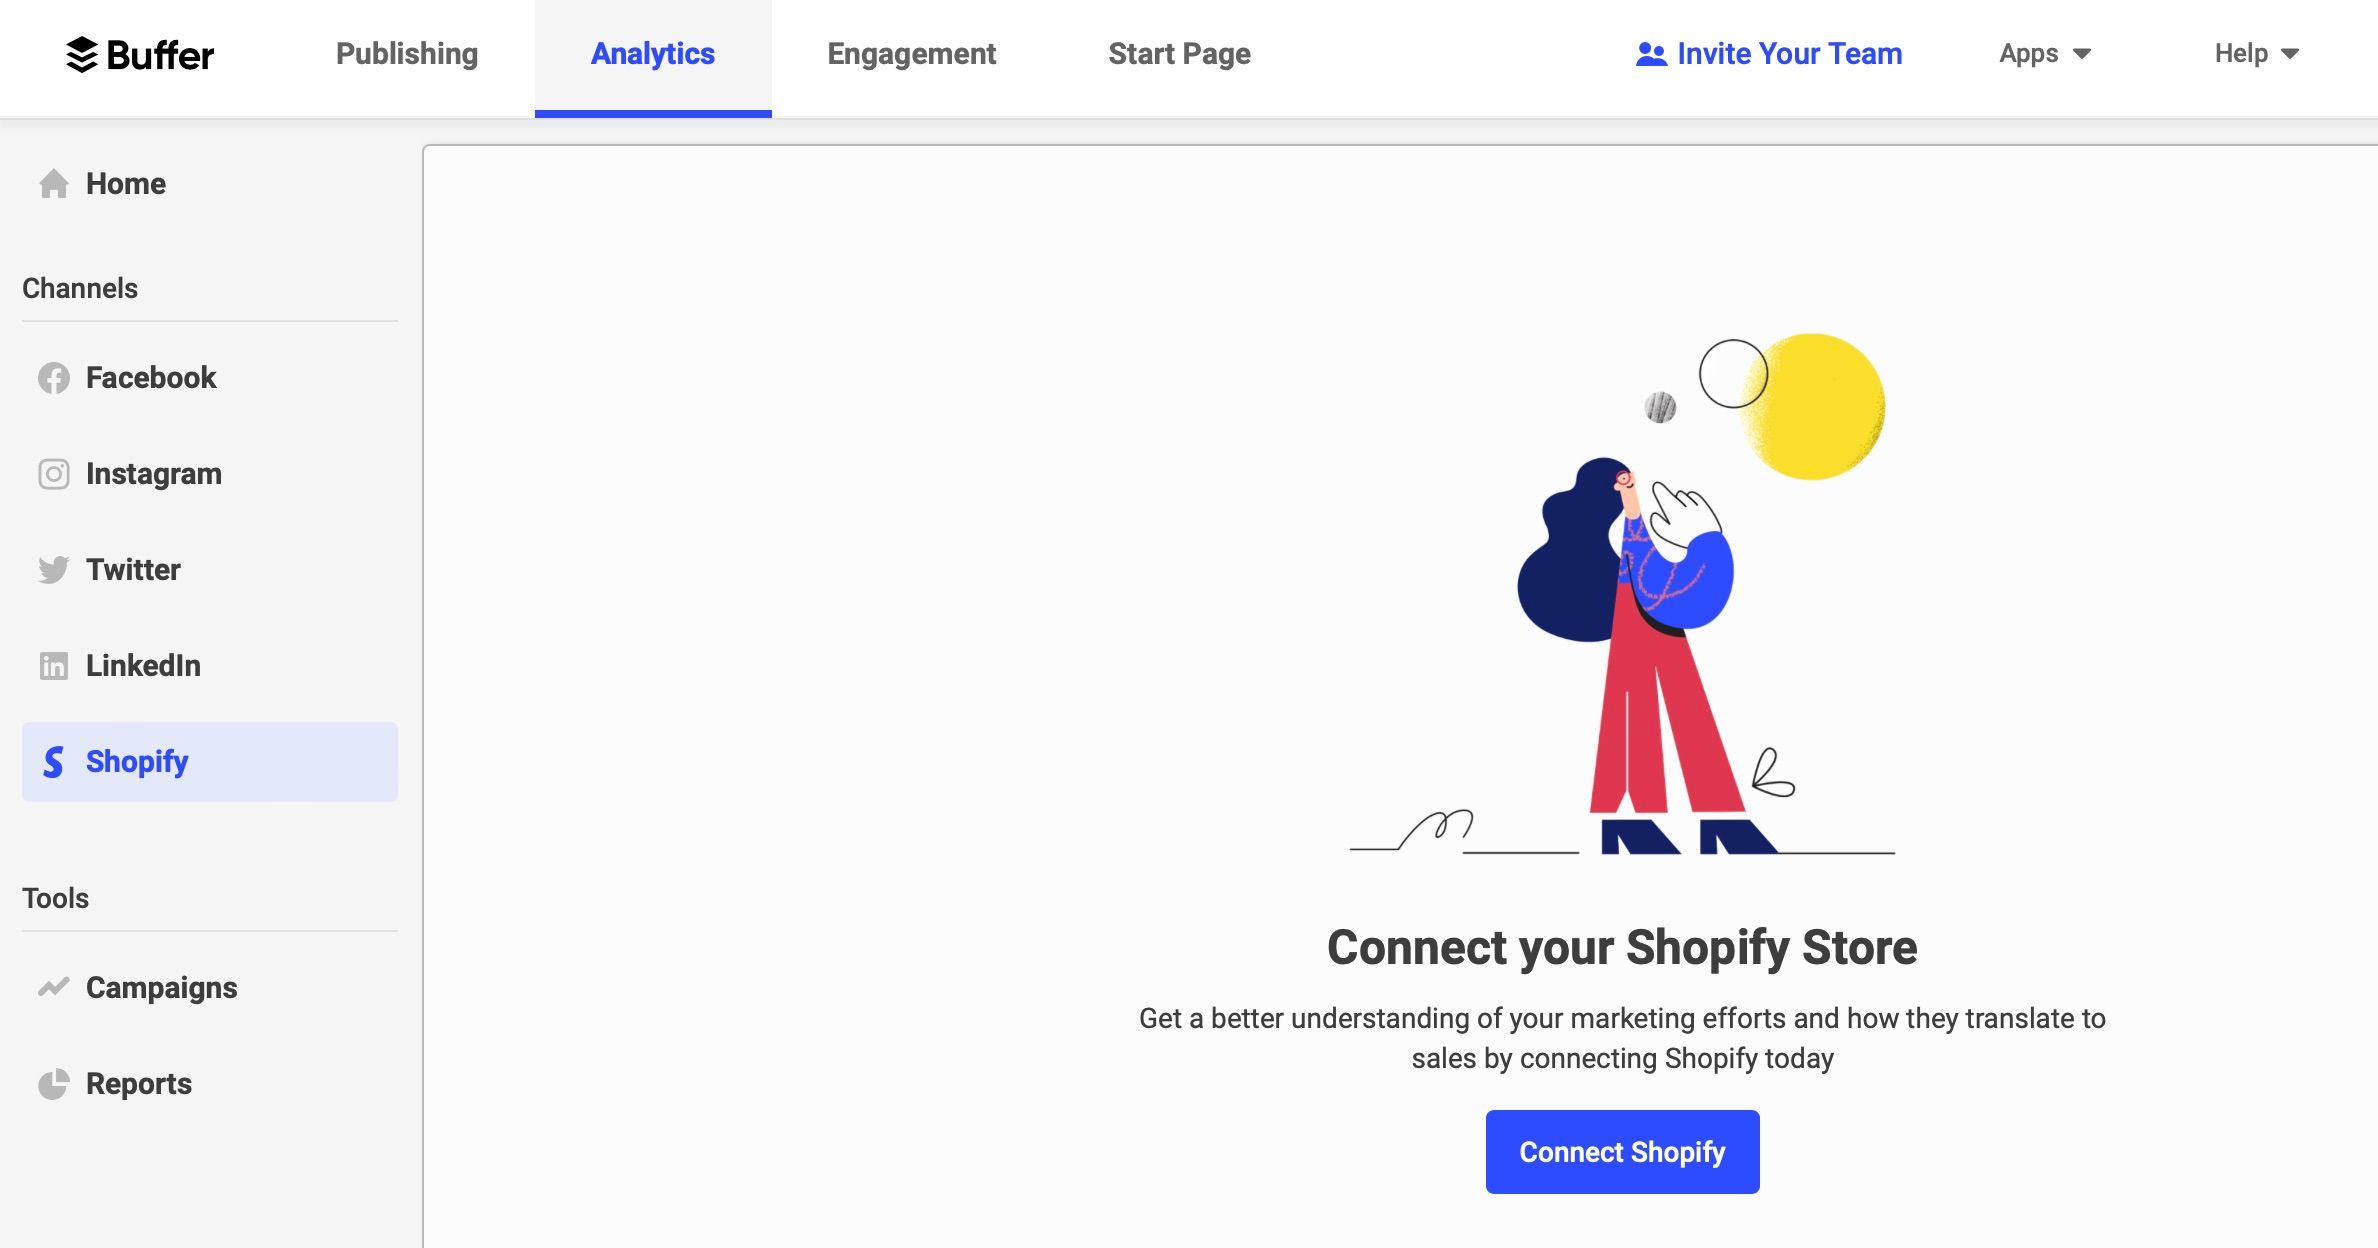
You can measure analytics for multiple networks, including LinkedIn—though you can only do this for pages instead of profiles. To view your analytics, go to the Analytics tab at the top of your screen. Depending on your subscription, you can create reports to make things easier to read.
If Buffer isn’t a good fit for you, there are other tools for measuring your social media analytics, such as Hootsuite and Emplifi (previously known as Socialbakers).
Managing your social media profiles is much easier these days as an online creator, and you don’t even need to go onto a specific platform anymore if you don’t want to. Instead, you can use social media scheduling tools to prepare and share your content—and Buffer is one of the best options.
With a free Buffer membership, you can schedule posts for your profiles with minimal effort. And if you want to subscribe to a paid version, you can also measure your analytics and respond to both messages and comments.
Credit: Source link

